Poles & Equipment
How to Install a Pressure-Mounted Pole at Home
A step-by-step guide to installing a pressure-mounted pole at home: finding a solid spot, building the pole, setting tension and checking it's safe.
Pole Club Team6 min read
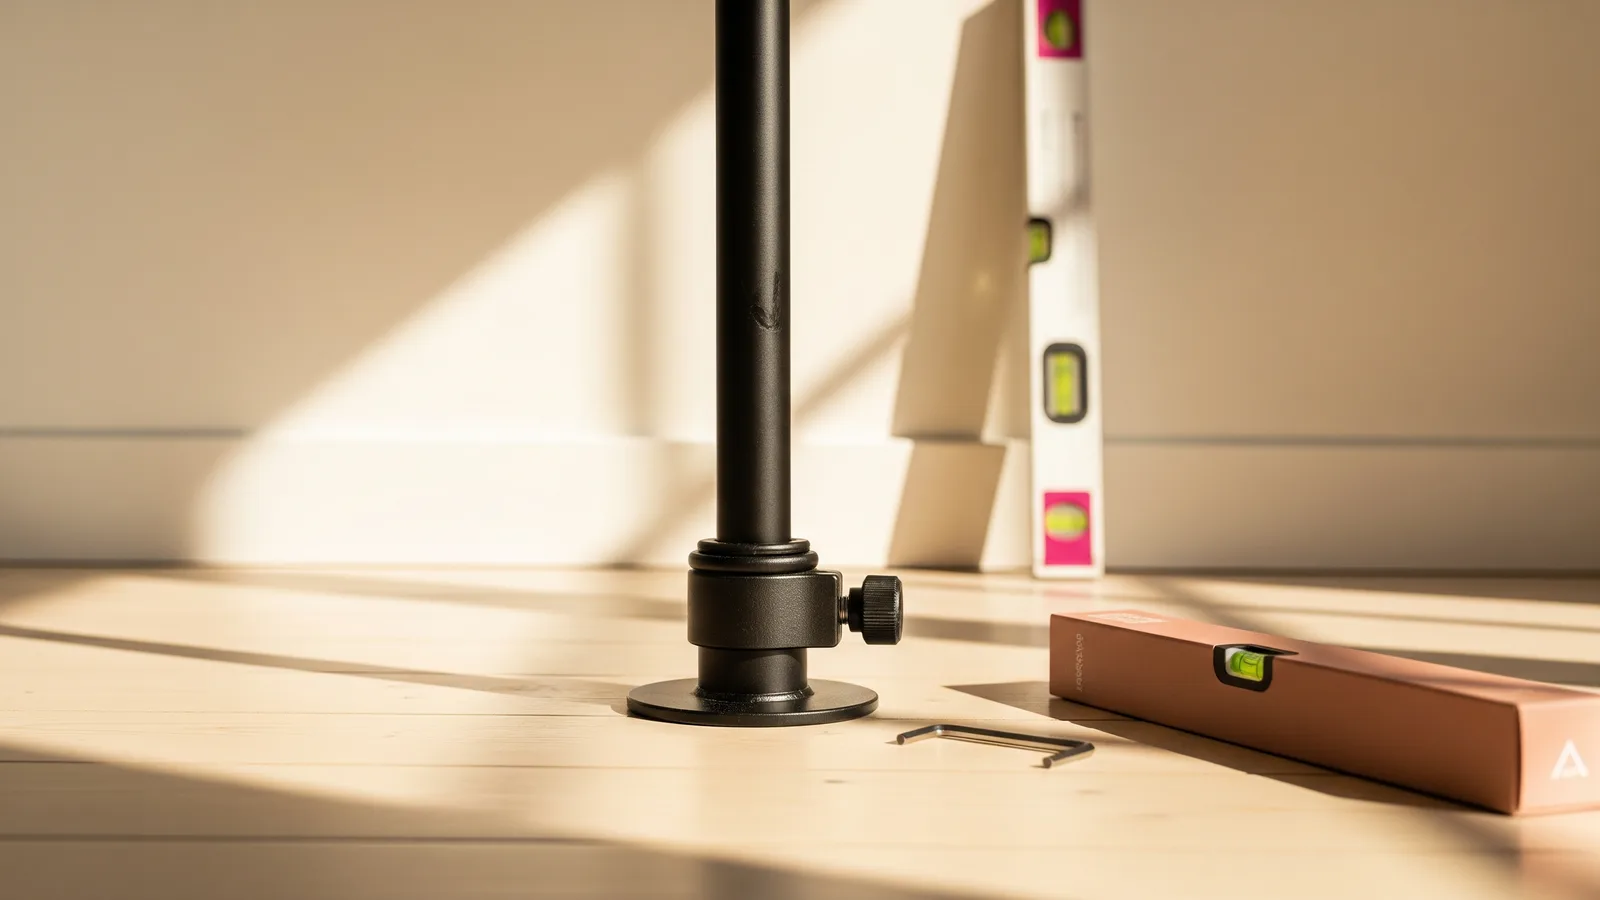
To install a pressure-mounted pole, find a spot under a solid ceiling joist, assemble the pole to reach your ceiling height, then extend the top plate to press firmly between floor and ceiling. You tension it by hand and with the adjustment collar until it's rock-solid, then run a safety check before you put any weight on it. No drilling is needed.
A pressure-mounted pole holds itself up by pushing against your floor and ceiling, so getting that tension right is the whole job. These steps walk through how to install a dance pole safely from the box to your first climb — the mechanics of the install itself, not the separate question of protecting your ceiling, which has its own guide.
Where should you put a pressure-mounted pole?
A pressure-mounted pole needs to press against a solid part of your ceiling, ideally directly under a joist, because the top plate pushes upward hard and a weak spot like plasterboard between joists can flex or fail. Tap along the ceiling or use a joist detector to find the firm timber, and site the pole so the top plate lands on it rather than on hollow board.
You also need honest clearance around the pole — roughly your armspan of clear space in every direction so you can spin and invert without hitting furniture or walls. Check the floor is level and firm too, since a soft or uneven floor undermines the tension. Suspended timber floors and thick carpet can compress, so bear that in mind when you choose the spot.
How do you install a dance pole step by step?
Installation runs in a clear sequence: prepare the spot, build the pole, raise and tension it, then check it. Take it slowly the first time — rushing the tension is the usual mistake.
- Clear and measure your spot. Confirm you're under a solid joist, the floor is firm and level, and you have clear space all around. Measure your ceiling height against the pole's range.
- Lay out the parts. Unbox everything and identify each section, the base plate, the top plate, the adjustment collar and the allen key. Read your pole's manual before assembling.
- Assemble the pole sections. Join the tubes to build the pole to roughly your ceiling height, following the manual's order. Keep joints properly seated and hand-tight as you go.
- Fit the base and stand it up. Attach the base plate, stand the pole upright on your chosen spot and hold it vertical.
- Extend the top plate to the ceiling. Raise the top plate so it just meets the ceiling. Use a spirit level to confirm the pole is truly vertical before you tension it.
- Apply tension. Use the adjustment collar (and the allen key where your model requires) to extend the pole firmly against the ceiling, building pressure gradually until the pole is solid and won't twist or rock by hand.
- Run the safety check. Push, pull and try to twist the pole. It should not move, click or shift. Only then load it gradually with your weight.
If your pole is dual-mode, make sure it's set to static while you install and first test it, so it can't rotate unexpectedly under you. Once you're confident it's solid you can switch to spinning mode following the manual. For more on that mechanism, our static vs spinning pole guide explains how the modes work.
How do you tension-check a pressure-mounted pole?
A properly tensioned pole should feel immovable — you shouldn't be able to twist it, rock it or shift the plates by hand. Grip the pole and try firmly to rotate it against its locked mode, then push it side to side and lean your weight into it low down. Any give, click, or movement of the top plate means the tension isn't right and you need to re-seat and re-tension before climbing.
Build up your bodyweight on it gradually rather than jumping straight into an invert. Start with a two-handed hang and a slow climb at low height, staying near the ground, and stop immediately if anything feels off. It's worth re-checking the tension every few sessions and after any change in temperature or humidity, since these can subtly loosen a pressure mount over time.
- The pole doesn't twist, rock or slide when you push and pull it.
- The top and bottom plates sit flush with no visible gap or lift.
- There's no clicking or shifting when you load weight low down.
- You've tested gradually near the floor before any full move.
Common installation mistakes to avoid
The most common mistake is under-tensioning the pole because it looks steady when it isn't fully locked in — a pole that stands up straight can still twist or creep under load if the top plate isn't pressed home firmly. Build the pressure gradually and keep testing by trying to rock and twist it until there's genuinely no give. A pole that passes a hard hand test is far safer than one that merely stands upright.
Two other errors catch people out. Siting the top plate on hollow plasterboard between joists instead of on solid timber is the big one, and it's worth the extra few minutes to find the joist properly. The other is skipping the level check, which lets you tension a pole that's leaning slightly and never sits quite right. Getting it truly vertical before you build pressure makes the whole install more stable.
- Don't tension by eye alone — test by rocking and twisting until there's no movement.
- Don't land the top plate on hollow plasterboard; find the solid joist first.
- Don't skip the spirit-level check before you build up pressure.
- Don't climb straight into a big move — load gradually near the floor first.
How do you take the pole down or move it?
Taking a pressure-mounted pole down reverses the install: release the tension slowly with the adjustment collar so the top plate eases away from the ceiling, then lower and dismantle the sections. Doing it gently rather than letting the pole drop protects both your ceiling and the pole, and it's one of the practical advantages of a pressure mount — it comes down cleanly when you need the space back or you're moving home.
If you relocate the pole, treat every new setup as a fresh install rather than assuming the old tension carries over. A different floor, ceiling and joist position all change how the pole seats, so run the full siting, levelling, tensioning and safety-check sequence again in the new spot. It only takes a few minutes and it's the difference between a pole you trust and one you're unsure about.
What does this guide not cover?
This covers the install and tension check — not how to protect your ceiling from the pressure or safeguard a rental deposit. A pressure-mounted pole pushes hard against the ceiling, and depending on your ceiling type that can risk cracking, marking or damage if it's not accounted for, which matters especially if you're renting.
For that side of things — ceiling protection, spreading the load, avoiding deposit disputes and what to do with weaker ceilings — read our home pole installation guide, which focuses on protecting your property rather than the install steps here. The two guides are meant to be read together.
Once your pole is up and safely checked, you're ready to actually use it. If you're teaching yourself, our Foundation course and the moves library give you a structured start, and if you'd rather learn in person first, the class directory helps you find a studio near you before you train solo at home.
Common questions
- Do you need to drill to install a dance pole?
- No — a pressure-mounted pole needs no drilling. It holds itself up by pressing firmly between your floor and ceiling using an adjustable top plate. You must site it under a solid ceiling joist and tension it correctly. Bolt-down poles, which do require drilling, are a separate type.
- How do I know my pole is safe to climb?
- A safe pressure-mounted pole won't twist, rock or slide when you push, pull and try to turn it, and its plates sit flush with no gap. Test it by loading your weight gradually near the floor first. Any movement, clicking or plate lift means re-tension before climbing.
- What kind of ceiling do I need for a pressure-mounted pole?
- You need a solid ceiling that can take strong upward pressure, ideally with the top plate landing on a joist rather than hollow plasterboard. Measure your ceiling height against the pole's range. If your ceiling is weak or you're unsure, check the manufacturer's guidance and consider ceiling protection.
- How often should I check my pole's tension?
- Re-check the tension every few sessions, and after any noticeable change in temperature or humidity, as these can loosen a pressure mount over time. Always do a quick push, pull and twist test before each session. It takes seconds and is the simplest way to stay safe.
Keep reading
See all posts →
Poles & Equipment
Powder-Coated and Silicone Poles: Are High-Grip Finishes Right for You?
How powder-coated and silicone poles work, who high-grip finishes suit, why they let you train clothed, and how they change your technique.
Poles & Equipment
Chrome vs Stainless Steel vs Brass: Pole Finishes Explained
How chrome, stainless steel, brass and titanium-gold poles differ on grip, allergies, cost and climate — so you can pick the right finish for your skin and home.

Poles & Equipment
40mm vs 42mm vs 45mm: Choosing Your Pole Diameter
How pole diameter affects your grip by hand size and discipline, what studios and competitions commonly use, and how to pick the right thickness before you buy.